Building a crossing
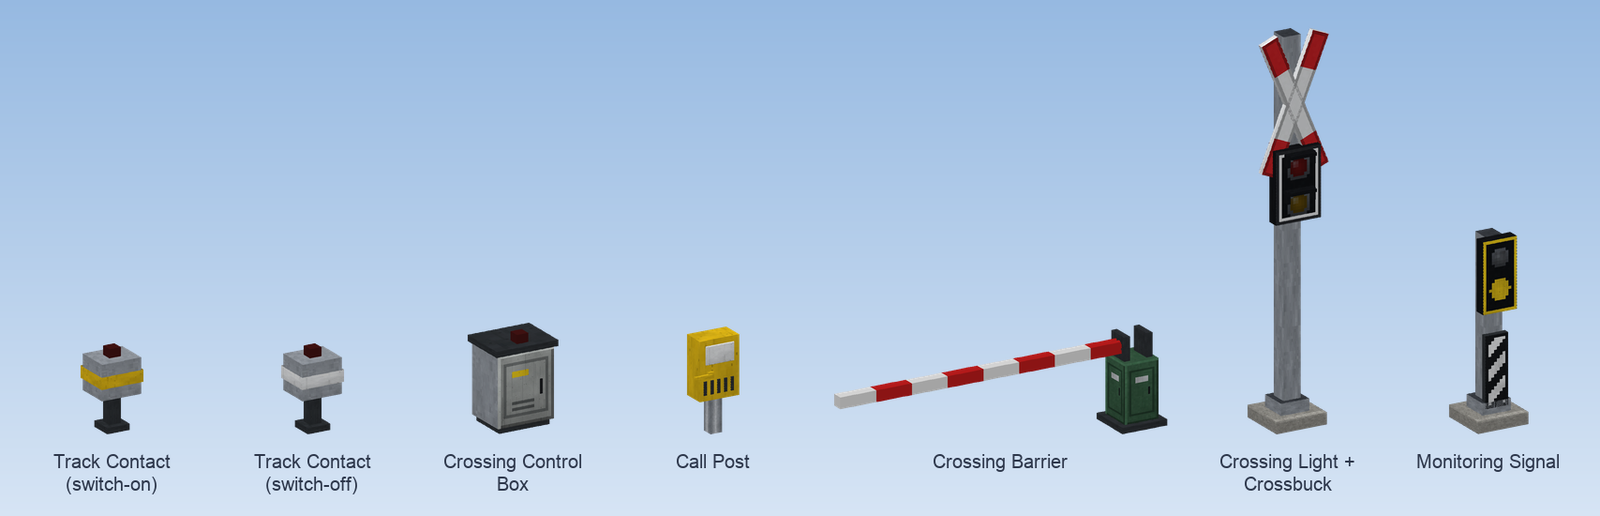
This guide builds an ordinary crossing of one track and a road: two barriers, two crossing lights, two monitoring signals and three track contacts.
Place the control box
Put the Crossing Control Box beside the crossing, for example next to the road. Everything else will be connected to it, so keep it within 64 blocks of all parts (the range can be raised later).
Put up the barriers
Place a Crossing Barrier on each side of the road, beside the lane. Look along the lane across the road when you place it: the boom points that way. Set the boom length with Create's wrench so it covers the lane.
Put up the crossing lights
Stack two Signal Masts next to each barrier facing the road traffic, put a Crossing Light on top and a Crossbuck on top of that. The lights face you when you place them.
Place the switch-off contact
Take a Track Contact, click the track right at the crossing, then place the box beside it. Right click the box with Create's wrench until it shows the white band: switch-off contact.
Place the switch-on contacts
Place one track contact on each side, far enough in front of the crossing that the barriers are down before a train arrives. Leave them as switch-on contacts (yellow band).
Put up the monitoring signals
For each direction put a Signal Mast with a Crossing Monitoring Signal at the right of the track, in front of the crossing and behind the switch-on contact.
Connect everything
Take the Connection Cable, click the control box, then click every contact, barrier, crossing light and monitoring signal once. Right click the control box with an empty hand to check the count.
Name it and test it
Right click the control box with Create's wrench, give the crossing a name (it shows on the track map), and let a train run through.
Where the contacts go
- A switch-on contact acts only for trains running towards the crossing. A train that has passed the crossing and runs over the switch-on contact of the other direction does not secure it again; if it comes back, the same contact secures again.
- The direction is measured by the distance to the connected barriers and signals, so these must stand at the crossing.
- Without a switch-off contact the crossing opens only when the train has left the switch-on contact of the other direction.
- With one single contact the crossing is only secured while the train stands on it.
- Several tracks: give every track its own contacts and connect them all to the same control box.